
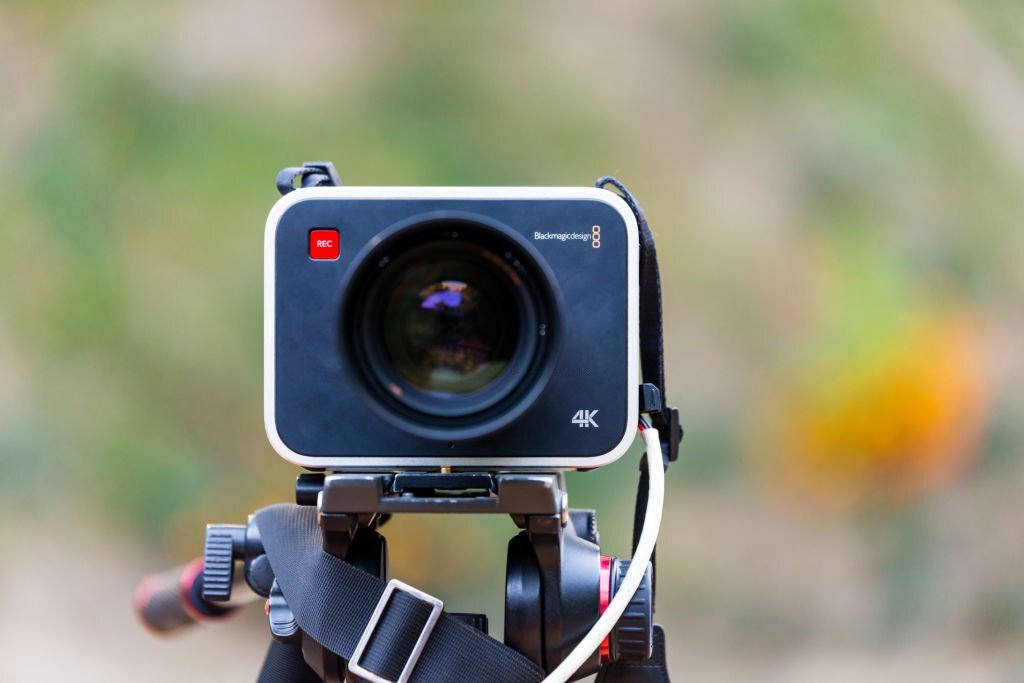
Have you ever filmed something amazing with your Blackmagic camera 4k, but found that the video quality is not as good as you hoped? This can be a frustrating experience, especially if you don’t know how to extract the video from your camera. In this blog post,
we will show you how to do just that. With a few simple steps, you cant have high-quality video files that you can use for all your projects. So, let’s get started!
The first thing you need to do is connect your Blackmagic camera 4k to your computer. Once the connections is made, you will need to launch the Blackmagic Video Converter application. Once the applications is open, click on the “Input” tab and select your camera from the drop-down menu.
Next, click on the “Output” tab and select the output format that you want to use. We recommend using either MPEG-4 or H.264 for best results.
Once you have selected the output format, click on the “Convert” button to start the conversion process. The conversions process may take a few minutes, dependings on the length of your video clip.
Once the conversion is complete, you will have a high-quality video file that you can use for all your projects. Thanks for following along, and we hope this guide was helpful. If you have any questions, feel free to leave them in the comments section below.
If you’ve ever filmed something amazing with your Blackmagic camera 4k, only to find that the video quality isn’t as good as you’d hoped, you know how frustrating that can be. Luckily, there are ways to extract the video from your camera and improve its quality. With a little bit of know-how, you can have the amazing footage you deserve.
The first step is to connect your Blackmagic camera 4k to your computer. Once it’s connected, open up the software that came with your camera. From there, your should be able to export the video file to your computer.
Once the file is on your computer, you can use a number of different methods to improve its quality. If you have access to video editing software, you can use that to make some basic adjustments. Even if you don’t have any experience with video editing, there are still a few things you can do to improve the quality of your video.
One simple way to improve the qualitys of your video is to increase the resolution. By increasing the resolution, you’ll be able to see more detail in the footage. This is especially helpful if you’re trying to extract footage from a 4k camera, as it will allow you to see more of the image.
Its you’re not happy with the colors of your video, another way to improve its quality is to adjust the white balance. The white balance is what gives colors their hue, and by adjusting.
There are a few things that you can do in order to extract the video from your Blackmagic camera 4k. The first things that you should do is to make sure that the video settings on your camera are set to the highest quality possible. This will ensure that the video is of the best possible quality when you transfer it to your computer.
The next thing that you need to do is to connect your camera to your computer via USB. Once the connections is made, your will need to open up the Blackmagic Camera Utility software. Once the software is open, clicks on the “Settings” tab and then select the “Video” tab.
From here, you will want to change the “Video Format” setting to “1080p 60fps.” This will ensure that the video is of the best quality when you transfer it to your computer.
Once you have changed the video format setting, click on the “OK” button and then disconnect your camera from your computer. Next, open up your favorite video editing software and import the video that you just extracted from your Blackmagic camera 4k. You should now have a high-quality video that you can edit to your heart’s content!
There are a few things that cant cause the video quality from your Blackmagic camera 4k to be less than stellar. One common issue is that the camera’s sensor can become overloaded if there is too much light coming into the lens. This can cause the image to appear blurry or washed out.
Another potential problem is that the video may not be properly compressed when it is saved to your memory card. This can lead to artifacts and other issues when you try to play back the video on your computer or other devices.
Fortunately, there are a few things you can do to improve the video quality from your Blackmagic camera 4k. One option is to use an external recorder that captures the video in a higher quality.
If you’ve ever filmed something amazing with your Blackmagic camera 4k, only to find that the video quality isn’t as great as you’d hoped, you know how frustrating that can be.
Fortunately, there is a way to extract the video from your camera and improve its quality. With a fews simple steps, you can have the high-quality video you want.
First, connect your Blackmagic camera 4k to your computer using a USB cable. Then, open the Blackmagic Camera Utility software. Under the “Device” tab, select “Output.”
Next, choose the format you want to export your video in. We recommend choosing either ProRes or DNxHD. These formats wills preserve the quality of your video better than other formats.
Finally, click “Export.” Your video will now be saved in the selected format, and you’ll be able to enjoy it at its best quality.
If you’ve ever filmed something amazing with your Blackmagic camera 4k, only to find that the video quality isn’t as good as you’d hoped, you know how frustrating that can be.
Fortunately, there is a way to extract the video from your camera and improve its quality. Here’s a step-by-step guide on how to do it:
1. Connect your Blackmagic camera 4k to your computer using the USB cable that came with the camera.
2. Open the Blackmagic Camera Utility software. If you don’t have it installed on your computer, you can download it for free from the Blackmagic website.
3. In the Camera Utility software, select the “Configure” tab and then click on “Disk Utility.”
4. In the Disk Utility window, select your Blackmagic camera 4k from the list of drives.
5. Click on the “Erase” button. This is a will erase all the files on your camera’s memory card, so make sure you have saved any footage you want to keep before doing this.
6. In the “Format” drop-down menu, select “exFAT.” This is a file system that is compatible with both Windows and Mac computers.
7. Click on the “Erase” buttons to format your memory card.
8. Close the Disk Utility window and return to the main Camera Utility software interface.
9. Click on the “Record” tab and then select the “Codec” drop-down menu.
10. From the list of codecs, select “DNxHR HQX.” This is a high-quality video codec that will improve the video quality of your footage.
11. Close the Camera Utility software and open your video editing software.
12. Import the footage from your Blackmagic camera 4k into your video editing software.
13. Edit your footage as usual and export it in the highest quality format possible.
If you want to get the best video quality from your Blackmagic camera 4k, it’s important to know how to extract the video properly. Here are you some tips on how to do this:
-Make sure that you are using a high-quality memory card. This will help to ensure that the video is not corrupted when it is transferred to your computer.
-Use a good quality USB cable. Again, this will help to prevent any data loss or corruption during the transfer process.
-Make sure that you have enough space on your computer’s hard drive. The video files from your Blackmagic camera 4k can be quite large, so you’ll need to make sure that you have plenty of space available.
-Transfer the video files to your computer as soon as possible after filming. This will help to prevent any data loss that can occur if the memory card is corrupted or damaged.
It can be very frustrating to spend time filming with your Blackmagic camera 4k, only to find that the video quality is not as good as you hoped. However, there are a few simple steps you cant follow to extract high-quality video from your camera. By following these steps, you can ensure that your videos look their best.
The first step is to connect your Blackmagic camera 4k to your computer using the USB cable that came with the camera. Once the connections is made, turn on the camera and press the “Record” button. The recording will automatically start and save to your computer’s hard drive.
Next, open the Blackmagic Desktop Video application on your computer. This application will allow you to view and edit the video files that are stored on your camera. To access the application, click on the “Start” menu and then select “All Programs.” Scroll down to the “Blackmagic Design” folder and click on the “Desktop Video” shortcut.
Once the application is open, clicks on the “File” menu and then select “Open.” Locate the video file that you want to extract from your camera and double-click on it. The video will now open in the Blackmagic Desktop Video application.
To begin extracting the video, click on the “Edit” menu and then select “Extract.” A news window will appear asking you where you would like to save the extracted video file. Choose a location on your computer and then click “Save.”
The extraction process will now begin. Depending on the size of the video file, it may take a few minutes to complete. Once the extraction is finished, you will have a high-quality video that is ready to be viewed or edited.
Table of Contents
FAQs
What is the best way to extract video from my Blackmagic camera 4k?
There are a few ways that you can go about extracting video from your Blackmagic camera 4k. One method is to use the Blackmagic Media Express software. This software is designed for capturing and playback of video and audio files.
With Media Express, you can easily transfer files from your camera to your computer. Another way to extract video from your camera is to use the Blackmagic Desktop Video Utility. This utility allows you to convert files between different formats, including H.264, MPEG-2, and ProRes.
What are the benefits of using the Blackmagic Media Express software?
The main benefit of using the Media Express software is that it is very easy to use. The interface is straightforward and user-friendly, so you will be able to quickly get started with using the software. Additionally, Media Express supports a wide range of file formats, so you will be able to convert your files to the format that you need.
What are the benefits of using the Blackmagic Desktop Video Utility?
The main benefit of using the Desktop Video Utility is that it offers a wide range of features for file conversion. With this utility, you cant easily convert your video files into different formats, including H.264, MPEG-2, and ProRes.
Additionally, the utility supports batch conversion, so you can easily convert multiple files at once. This can save you a lot of time if you have a large number of files to convert.
Conclusion
There are a few differents ways that you can extract video from your Blackmagic camera 4k. The two most popular methods are using the Blackmagic Media Express software or the Blackmagic Desktop Video Utility. Each method has its own benefits, so you will need to decide which one is right for you based on your needs.
If you are looking for an easy-to-use solution, then Media Express may be the better option. However, if you need more features for file conversion, then the Desktop Video Utility may be a better choice.